Spring Composting Guide: Getting Your Pile Ready for the Season
A spring composting guide to inspecting, turning, and rebalancing your pile after winter so it heats up fast and feeds your garden through the growing season.

Spring is honestly my favorite time to deal with the compost pile. Everything that sat there quietly all winter is suddenly ready to do something useful, the garden is waking up and hungry, and the conditions for real decomposition are finally coming back.
This spring composting guide walks through how I get a pile sorted before planting season hits full swing. It's less work than it sounds, mostly assessing what winter left you and giving the whole thing a good reset so it heats up and starts producing again. Here's the routine.
The Spring Inspection
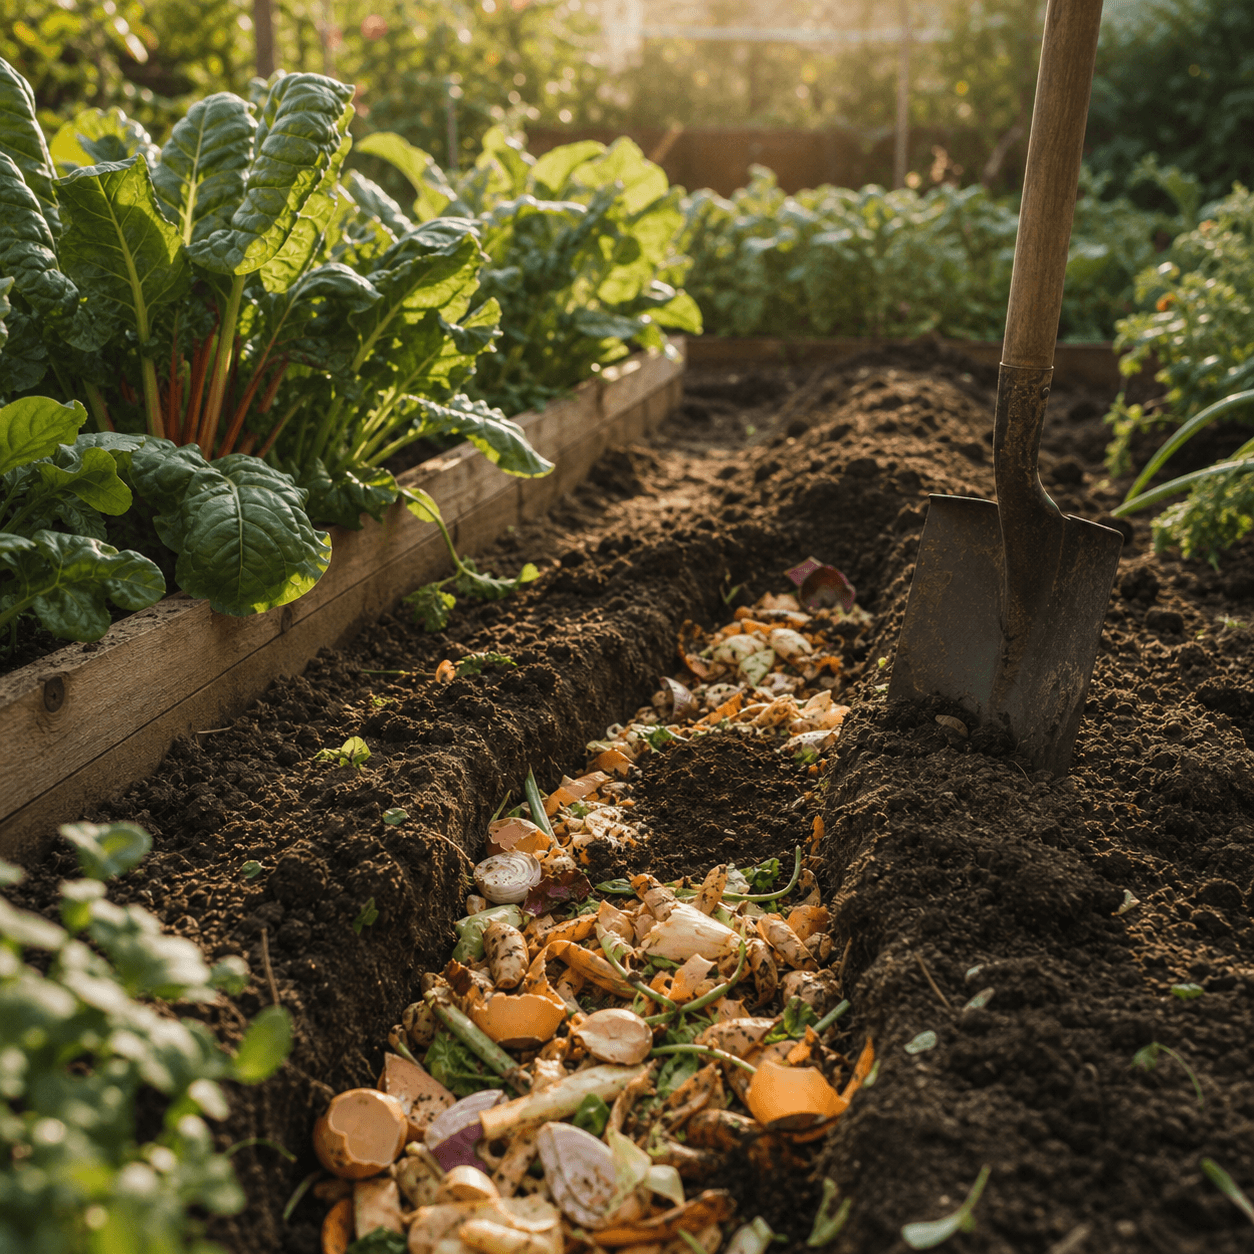
Before you grab the pitchfork and start turning, dig in and see what you've actually got. Winter piles tend to sort themselves into layers, and each one tells you what to do next:
- Finished compost at the bottom: dark, crumbly, and earthy-smelling. This is ready to spread on garden beds right now.
- Partially decomposed material in the middle: recognizable but breaking down. It'll finish fast once temperatures climb.
- Frozen or matted layers: compressed clumps, often wet leaves or kitchen scraps stuck together. Break them apart so air and warmth can reach them.
Pull the finished stuff out first and set it aside. That alone often frees up a surprising amount of room and gives you compost to use immediately.
Winter didn't stop your pile, it just hit pause. Spring is you pressing play.
Rebalance Browns and Greens
Over winter, piles usually drift out of balance, going soggy and dense from wet leaves and scraps with nothing dry mixed in. To restart good decomposition, you want a rough balance of browns and greens.
- Browns (carbon): dry leaves, straw, shredded cardboard, small twigs. These add structure and soak up excess moisture.
- Greens (nitrogen): fresh kitchen scraps, coffee grounds, spring grass clippings, garden trimmings. These fuel the heat.
If your pile is a wet, matted mess, work in plenty of browns. If it's dry and lifeless, add greens and water. Aim for the classic damp-sponge feel, moist but never dripping.
Turn It to Wake It Up
Turning is what reintroduces oxygen, and oxygen is what the microbes doing the real work need. After a still winter, a thorough turn does more than almost anything else to restart the process.
Fork the whole pile over, moving the outer, less-decomposed material into the center where it's warmest, and breaking up any clumps as you go. Within a few days to a week of a good spring turn, a healthy pile should start warming in the middle again. That heat is your sign it's back in business.
A Simple Spring Reset Checklist
- Dig in and remove any finished compost for immediate use.
- Break apart frozen or matted layers.
- Add browns if it's soggy, greens and water if it's dry.
- Turn thoroughly, outside material to the center.
- Check moisture, aiming for a wrung-out sponge.
Feed It Through the Season
Once your pile is reset and heating, keep it fed. Spring brings a flood of new material, grass clippings, garden cleanup, kitchen scraps, so layer greens with browns as you add, keep it damp, and turn it every week or two.
Do this now and you'll have a steady supply of finished compost right when your beds and containers are hungriest. A little spring attention turns a dormant winter heap into the engine that feeds your whole garden all season long.
Sarah Mitchell
Founder & Editor
Writer, home cook, and slightly obsessive gardener sharing small, doable ways to live a little lighter. Sarah started Earth Friendly Blogs at her own kitchen table. More from Sarah →