How to Start Composting at Home for Beginners
A beginner's guide to how to start composting at home, covering why it matters, choosing a bin, balancing greens and browns, and troubleshooting common problems.
Composting is one of those things that sounds far more complicated than it actually is. I put it off for almost two years because I was convinced I'd mess it up somehow. Then I finally set up a basic bin in the backyard, and honestly? It runs itself. We're talking five minutes a week, and now I've got dark, crumbly compost my tomatoes are obsessed with. If you've been wondering how to start composting at home, here's everything I wish I'd known sooner.
Why Composting Matters
Here's the thing that got me motivated. When food scraps end up in a landfill, they don't get the oxygen they need to break down cleanly. Instead they rot anaerobically and release methane, a greenhouse gas roughly 80 times more potent than carbon dioxide over a 20-year window.
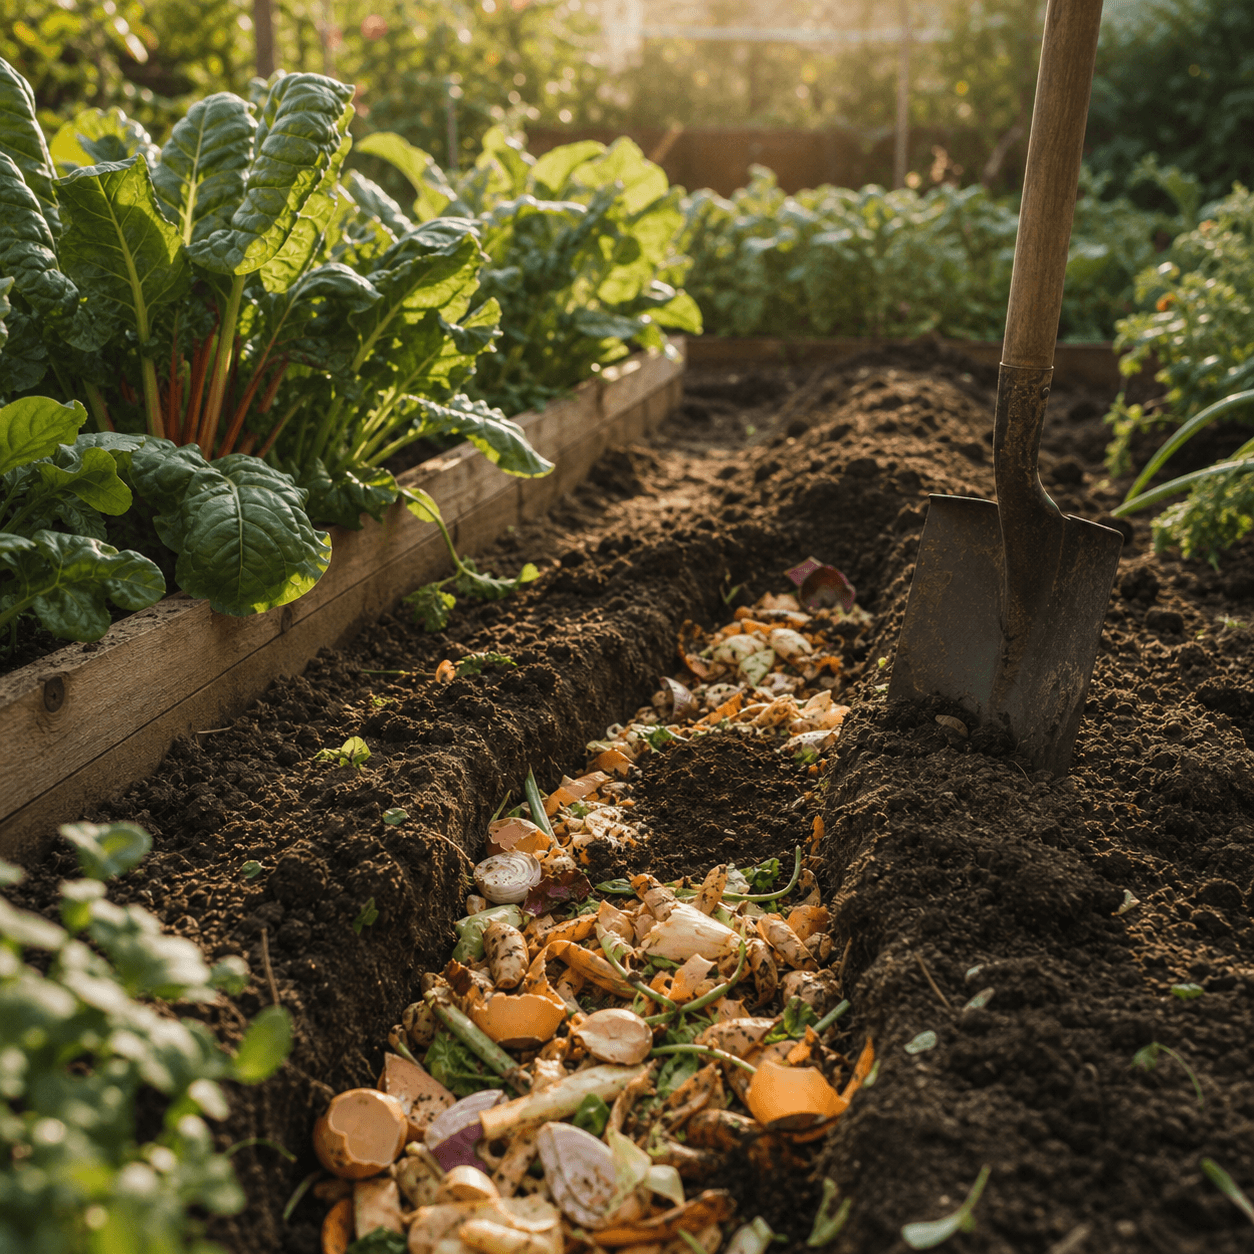
Compost those same scraps in your yard, and they turn into a rich soil amendment that feeds your plants, holds moisture, and cuts your need for synthetic fertilizer. You're keeping waste out of the trash and building something genuinely useful at the same time.
Choosing Your Setup
You don't need anything fancy. Pick whatever fits your space:
- An open pile or a simple bin in a backyard corner, ideal if you have room
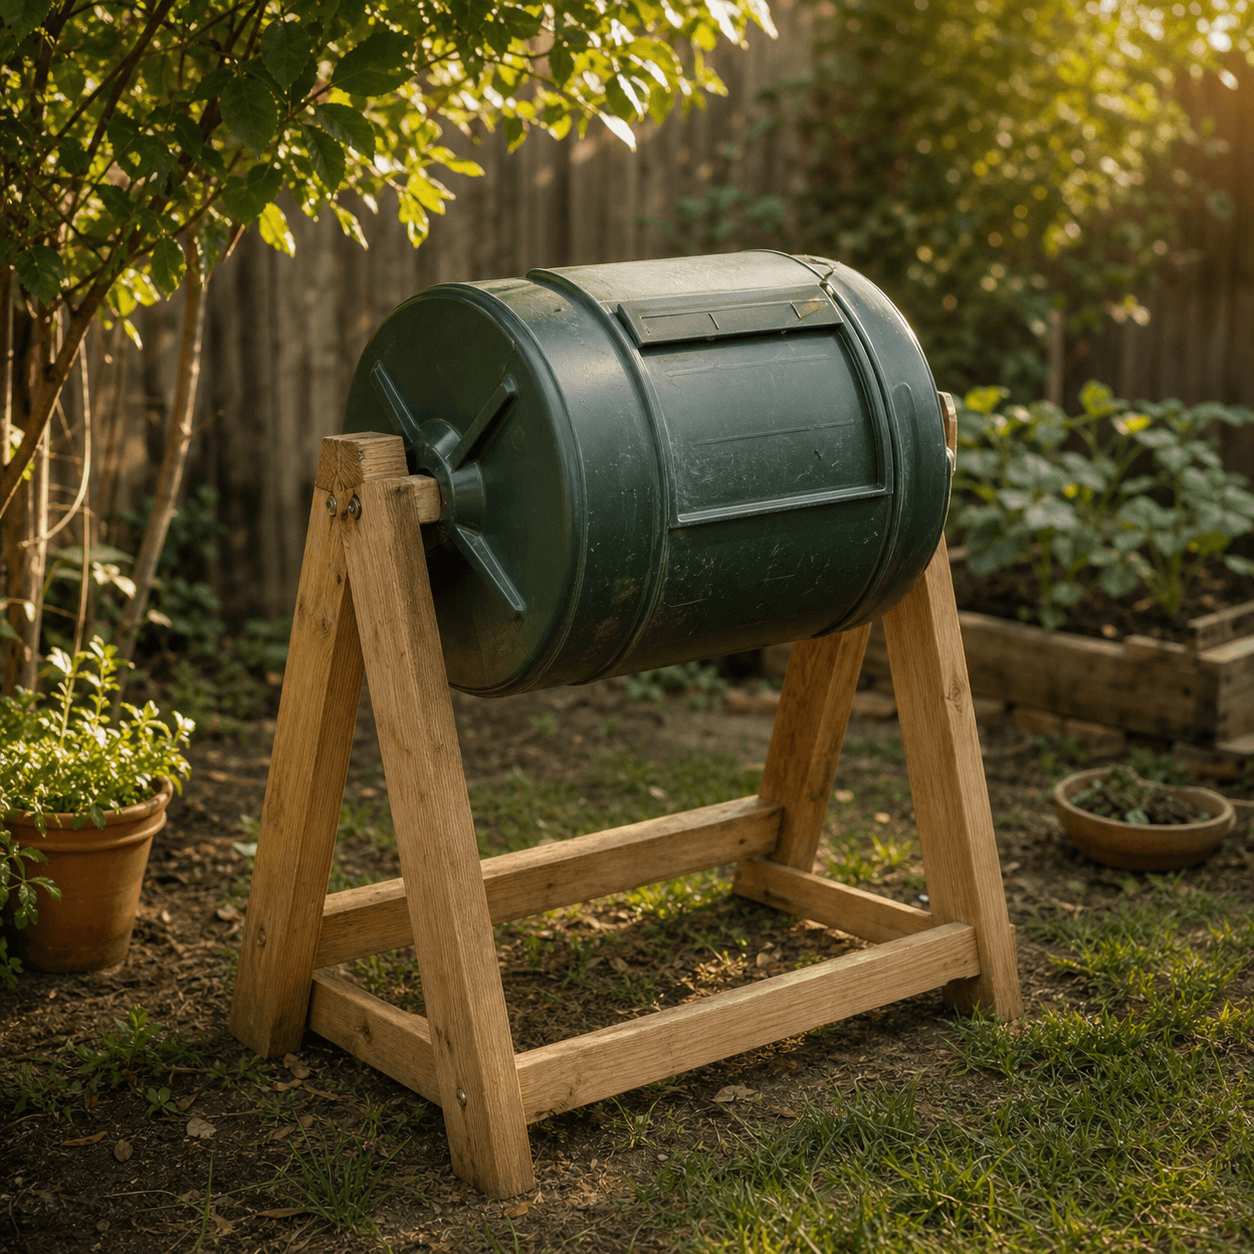
- An enclosed tumbler that keeps things tidy and easy to turn
- A worm bin for a patio, garage, or under-sink spot in a small home
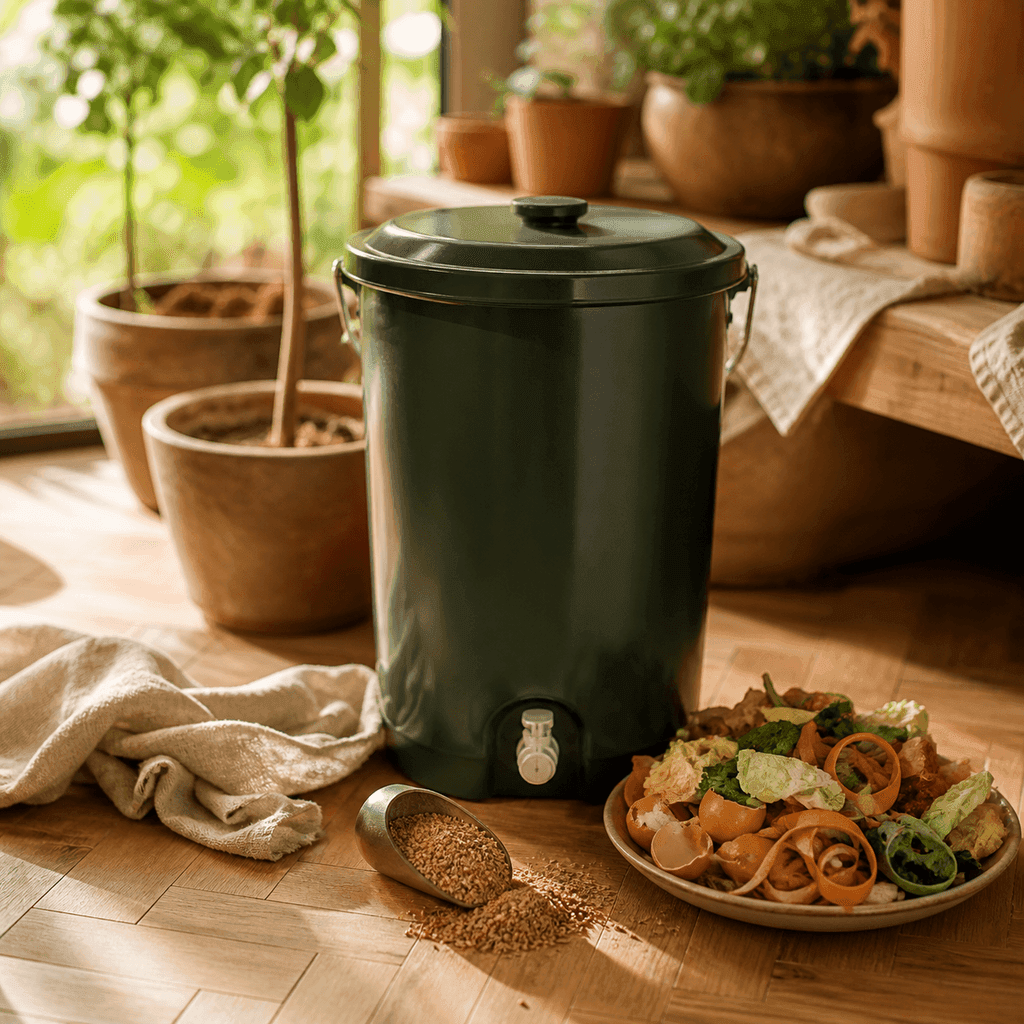
- A Bokashi bucket if you want to compost indoors, including meat and dairy
Set a backyard bin on bare soil in a spot with some shade, so worms and microbes can move in from below and the pile doesn't dry out in full sun.
The Greens and Browns Balance
This is the one concept that makes composting click, and it's simpler than it sounds. Your pile needs two ingredients:
- Greens are nitrogen-rich and wet: fruit and vegetable scraps, coffee grounds, fresh grass clippings.
- Browns are carbon-rich and dry: dead leaves, shredded cardboard, paper, straw, sawdust.
Aim for roughly two parts brown to one part green by volume. Greens provide the fuel, browns provide structure and airflow, and together they keep everything breaking down without turning slimy or smelly.
If you remember one rule, make it this: when in doubt, add more browns. A soggy, smelly pile is almost always short on carbon, and a handful of shredded leaves or cardboard fixes it almost overnight.
Keeping It Happy
Once your bin is going, maintenance is minimal:
Moisture
The pile should feel like a wrung-out sponge, damp but not dripping. Too dry and it stalls; too wet and it stinks. Add water if it's crumbly, add browns if it's soggy.
Air
Microbes need oxygen. Turn the pile with a fork or spin the tumbler every week or two to keep it aerated and speed things up.
Size
A bigger pile holds heat and breaks down faster. Aim for at least a cubic foot or so before you expect much action.
What to Leave Out
In a basic backyard system, skip these to avoid pests and odors:
- Meat, fish, and bones
- Dairy and greasy or oily foods
- Pet waste
- Diseased plants and weeds gone to seed
Stick to plant scraps and yard waste and you'll steer clear of almost every problem.
When Is It Ready?
In a few months to a year, depending on your climate and how often you turn it, the bottom of your pile turns into dark, crumbly, earthy-smelling compost. When you can no longer recognize the original scraps, it's ready to spread on garden beds, mix into potting soil, or scatter around your plants.
That's the whole thing. Learning how to start composting at home really does come down to layering greens and browns, keeping it damp, and giving it a little air. The pile does the rest.
Frequently Asked Questions
What is the ideal ratio of greens to browns in a compost pile?
Aim for roughly two parts brown to one part green by volume. Greens like food scraps and coffee grounds supply nitrogen and moisture, while browns like dry leaves and shredded cardboard provide carbon and airflow. If the pile ever turns soggy or smelly, add more browns, since that is almost always the fix.
How long does it take to make usable compost at home?
In most backyard setups it takes a few months to a year, depending on your climate and how often you turn the pile. It is finished when the bottom is dark, crumbly, and earthy-smelling and you can no longer recognize the original scraps. Turning it regularly and keeping it damp both speed things up.
Can you compost if you live in an apartment without a yard?
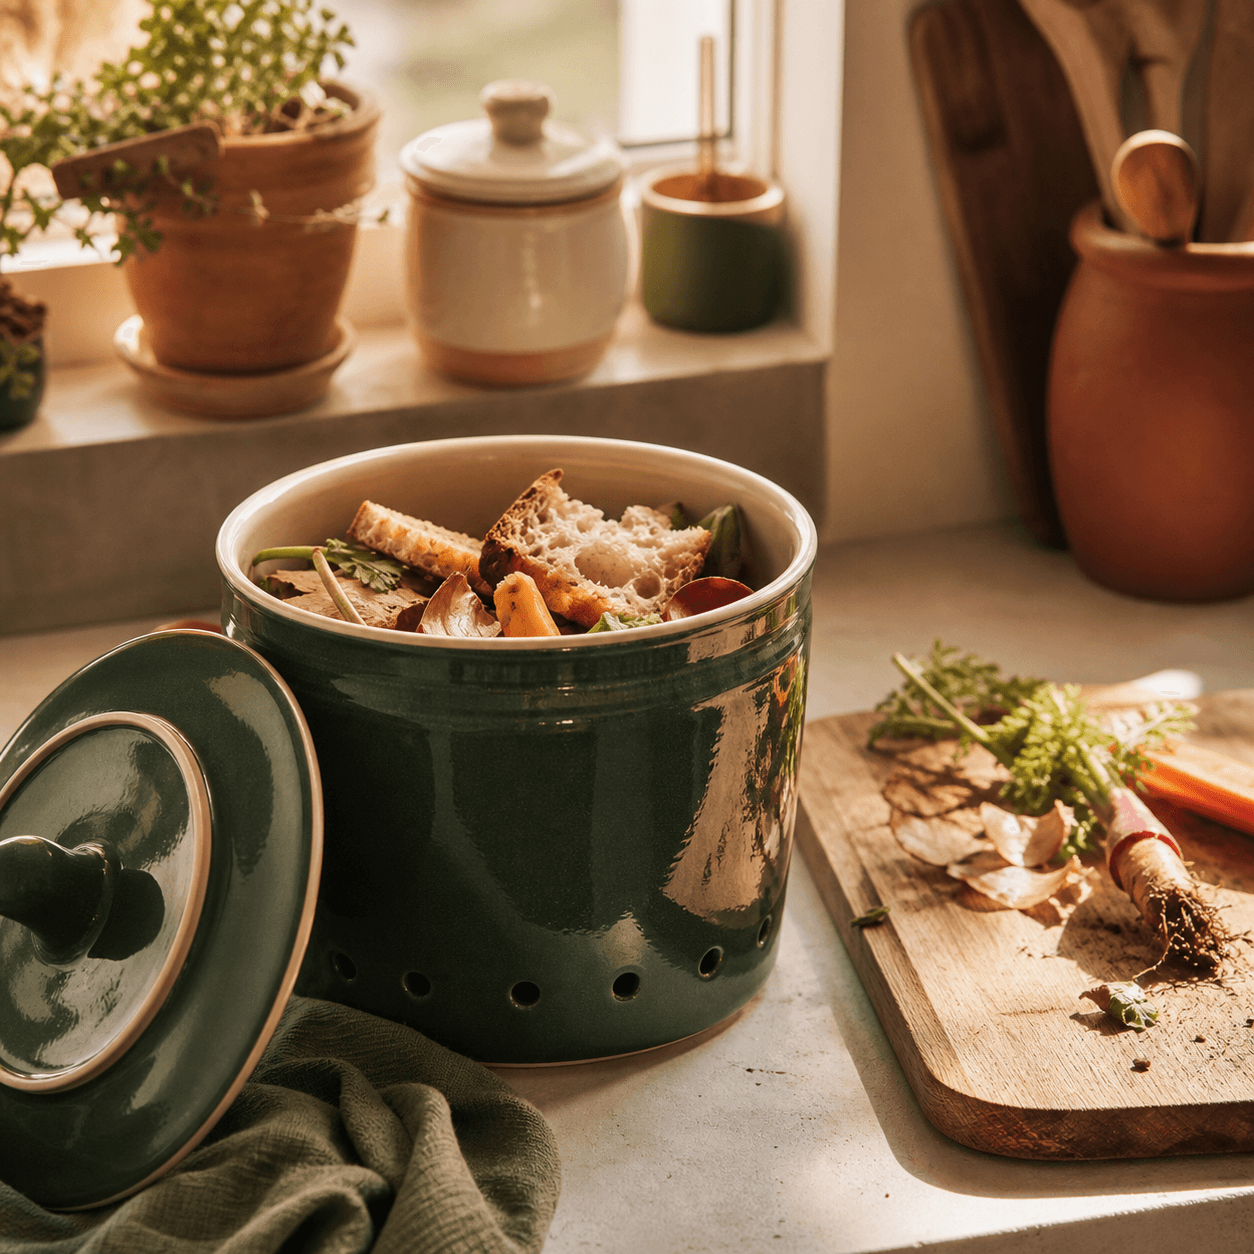
Yes. A worm bin fits under a sink or on a patio, and a Bokashi bucket lets you ferment scraps indoors, including meat and dairy that a backyard pile cannot handle. Pair either one with a small lidded countertop container to collect scraps through the day.
Why does my compost pile smell bad?
A foul smell usually means the pile is too wet and short on carbon, so it is rotting without enough air. Mix in a generous handful of browns like shredded leaves or cardboard and turn the pile to add oxygen. Keeping it as damp as a wrung-out sponge, rather than dripping, prevents most odor problems.
Does a compost pile need to be a certain size to work?
A bigger pile holds heat better and breaks down faster, so aim for at least a cubic foot before you expect much activity. Very small piles struggle to warm up and can stall out. Turning it every week or two and keeping the moisture right matter just as much as the size.
James Carter
Composting & Soil Specialist
James is a lifelong allotment grower who's happiest with a fork in a compost heap. He covers composting, soil health, and closing the loop in the garden. More from James →