How to Make a No-Dig Garden Bed: The Eco-Friendly Way to Start
Learn how to make a no-dig garden bed with cardboard and compost. An eco-friendly, low-effort way to build rich soil without tilling.
No-dig gardening sounds like a scam the first time you hear about it. No tilling? No churning everything up in spring? I was skeptical too. But I converted three of my beds over the past two years using nothing but cardboard, compost, and a little patience, and the difference in the soil is honestly kind of wild. If you want to learn how to make a no-dig garden bed, the method is almost embarrassingly simple, and it's gentler on both your back and the ground beneath it.
Why No-Dig Is Better for the Soil
Here's the thing about tilling that took me a while to really get: every time you run a tiller through your garden, you're shredding a living system that took years to build.
Beneath the surface there's an entire network holding your soil together, fungal threads that shuttle nutrients between plants, earthworm tunnels that let air and water travel down, and countless microbes doing quiet, essential work. A tiller rips all of it apart in an afternoon.
No-dig methods leave that world intact. The earthworms keep doing their thing undisturbed, the fungal networks stay connected, and the soil structure holds. The payoff is real:
- Better water retention, so you water less.
- Fewer weeds, because you stop dredging buried weed seeds up to the light.
- Steadily improving fertility, year after year, without bagged fertilizer.
Every time you till, you're not preparing the soil, you're demolishing it and starting over. No-dig just stops the demolition.
What You'll Need
You don't need much, and most of it you can scrounge for free.
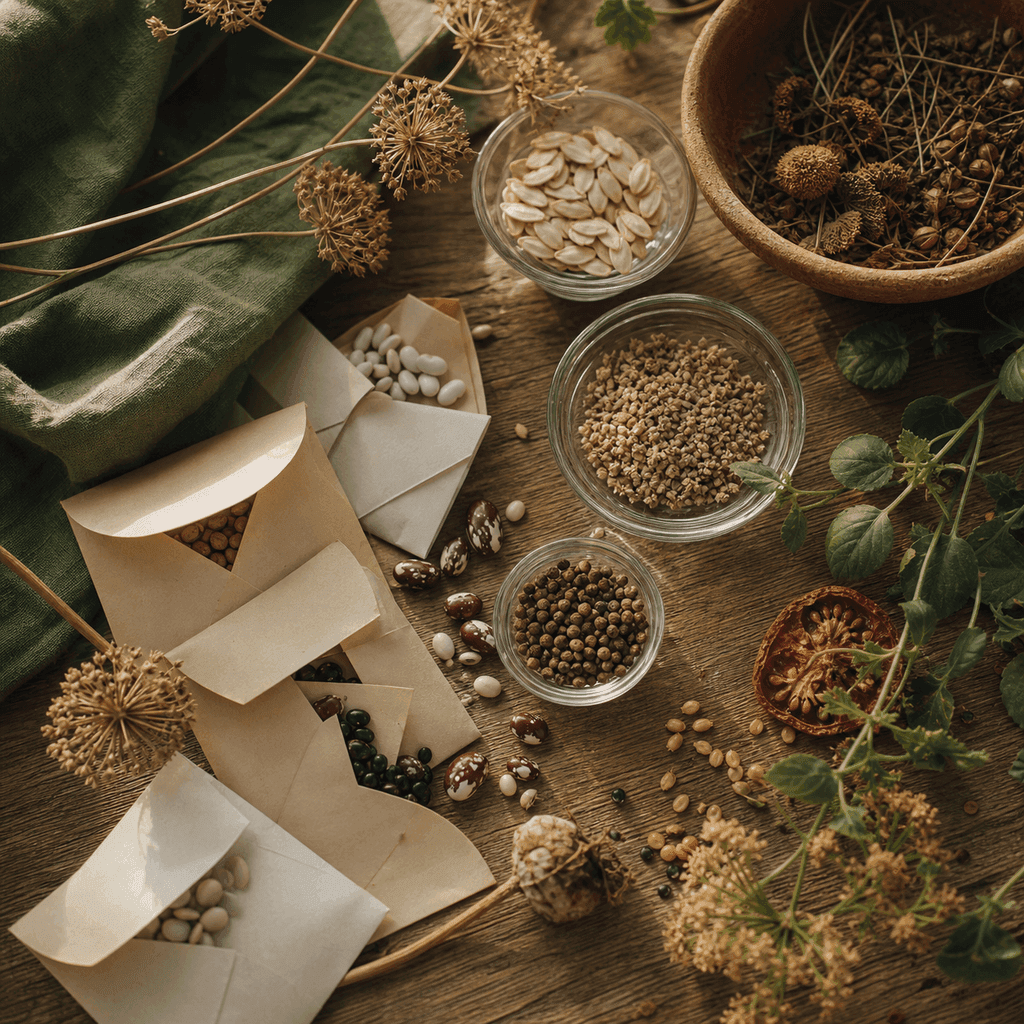
- Cardboard or thick newspaper to smother the existing grass and weeds. Plain brown boxes are ideal.
- Compost, enough for a three-to-four-inch layer over your whole bed. This is the main cost, though a home pile or municipal compost keeps it cheap.
- A hose and a little time.
That's genuinely it. Skip any cardboard with heavy glossy printing or plastic tape, and pull off every shipping label and staple first.
Building the Bed, Step by Step
The whole thing goes together in an afternoon.
- Mow or trim low. Cut the grass or weeds where your bed will go as short as you can. No need to remove anything.
- Water the ground. Give the area a good soak so the soil life is active and ready underneath.
- Lay the cardboard. Overlap the pieces by several inches so no gaps let grass sneak through. This layer is what smothers what's below.
- Wet the cardboard. Soak it thoroughly. Damp cardboard breaks down faster and stays put.
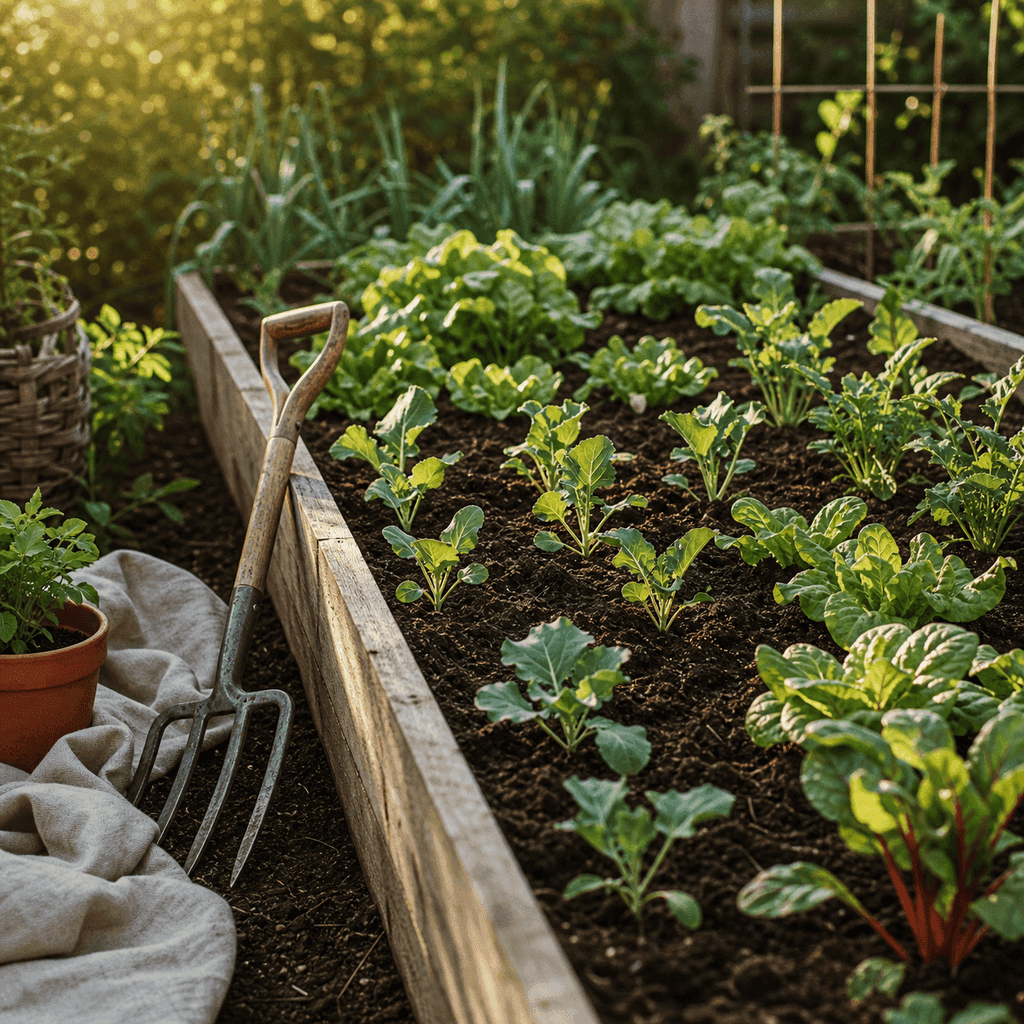
- Pile on compost. Spread three to four inches of compost right on top of the cardboard, level it out, and you're done.
You can plant into that compost layer immediately. Seedlings and transplants go straight in; for seeds, just make sure the compost is fine and settled.
Give It a Little Time for Deep Roots
Leafy greens, lettuce, and shallow-rooted plants thrive in a brand-new bed right away. For deep-rooted crops like carrots or parsnips, it's worth waiting a season or laying the bed down in fall so the cardboard has fully softened and roots can push straight through into the ground below.
Keeping It Going
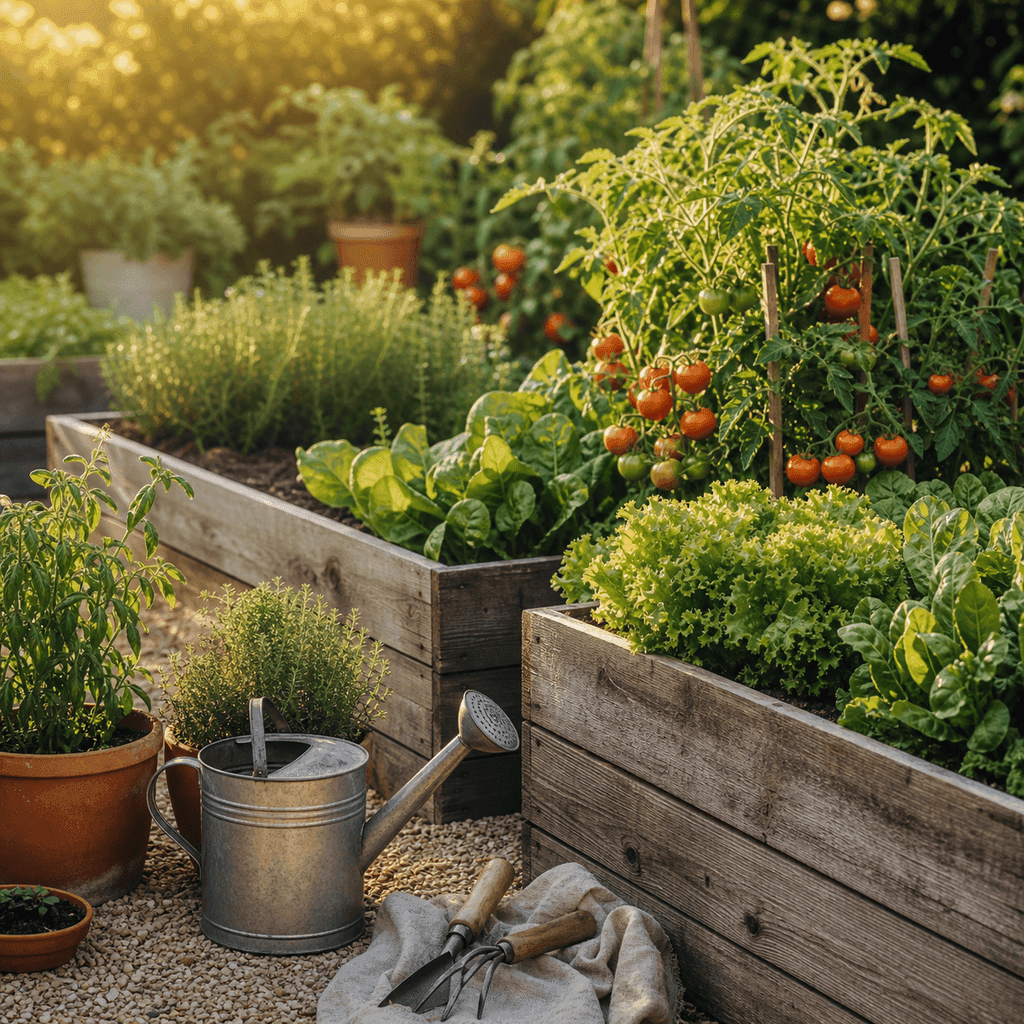
The beauty of no-dig is that maintenance mostly means doing nothing. Don't dig. Don't till. Each fall or spring, just top the bed with another inch or two of compost and let the worms pull it down for you. They're better at incorporating organic matter than any tool you own, and they work for free.
Two years in, my no-dig beds are darker, softer, and full of worms in a way my old tilled rows never were, and I spend a fraction of the effort maintaining them. Start with one bed this season. Once you see the soil for yourself, you'll be converting the rest before long.
David Brooks
Organic Gardening Writer
David grows food on a suburban plot and loves a good repair. He writes about organic gardening, pollinators, and doing more with less out in the yard. More from David →