How to Make a Rain Garden to Manage Runoff Naturally
Build a rain garden to capture stormwater runoff, filter pollutants, and support pollinators using native plants and a shallow planted basin.
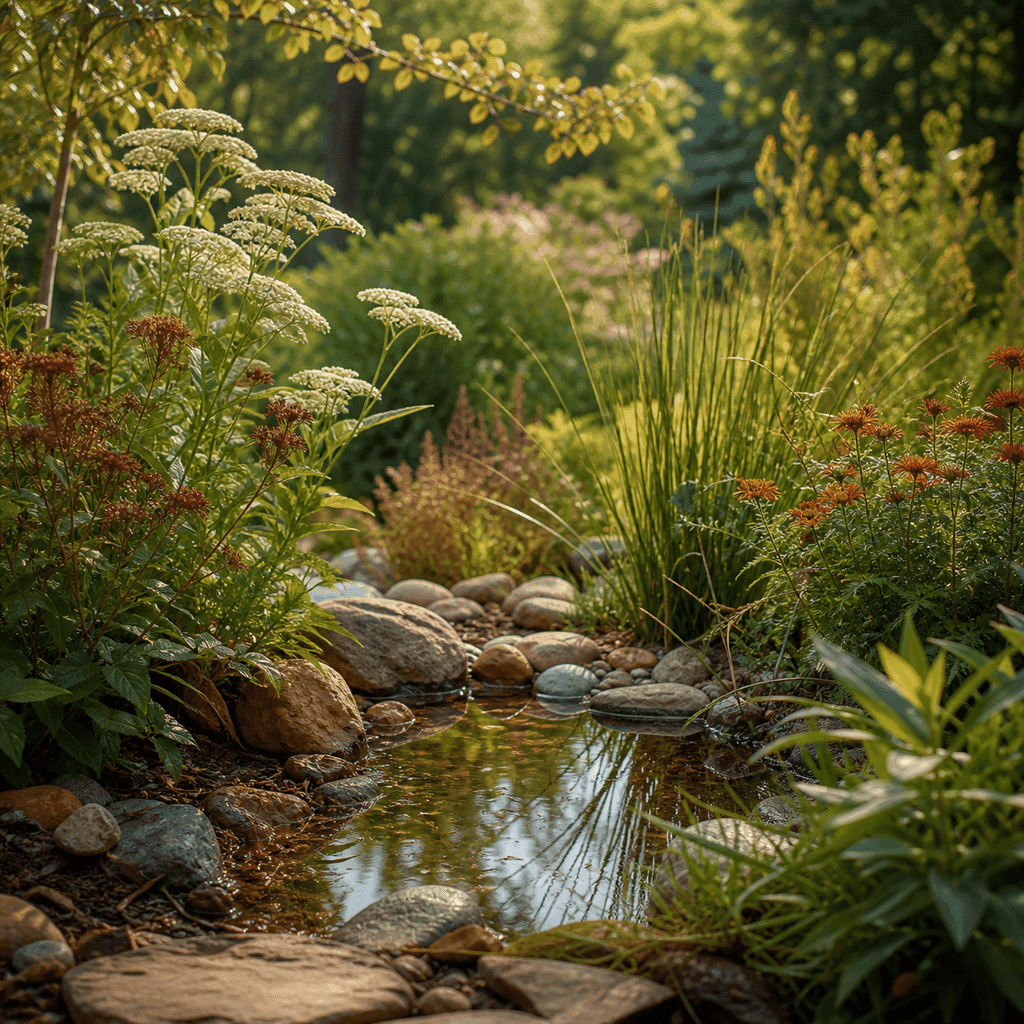
Every time a storm rolls through, the rain that hits your roof and driveway has to go somewhere. Too often it races across pavement, picking up oil, fertilizer, and grit before pouring into a storm drain and, eventually, a local stream. A rain garden gives that water a better destination.
Learning how to make a rain garden lets you turn a soggy problem corner into a beautiful, low-maintenance feature that works. This shallow planted basin slows runoff, filters out pollutants, and lets rainwater soak gently back into the soil, all while feeding pollinators and looking lovely doing it.
What a Rain Garden Actually Does
A rain garden is not a pond and it is not a wetland. It is a depression, usually four to eight inches deep, planted with hardy, deep-rooted species and positioned to catch stormwater from a downspout, driveway, or sloped lawn. When rain falls, water collects there and typically soaks away within 12 to 48 hours.
That short ponding time does a lot of good. The plants and soil act as a natural filter, trapping sediment and breaking down pollutants before they reach groundwater or waterways. Meanwhile, capturing runoff on your own property eases the burden on storm systems and reduces the erosion and flooding that overwhelmed drains can cause downstream.
- Reduces localized flooding and standing water
- Filters pollutants out of runoff before it reaches streams
- Recharges groundwater instead of sending water to drains
- Creates habitat for bees, butterflies, and birds
Choosing the Right Location
Placement makes or breaks a rain garden, so scout your yard before you dig. You want a naturally lower spot that already receives runoff, ideally downhill from a downspout or paved area.
Keep these guidelines in mind:
- Site the garden at least 10 feet from your home's foundation to protect against water intrusion.
- Stay away from your septic system, well head, and buried utility lines. Always call 811 before digging.
- Avoid spots where water already pools for days, since that signals poor drainage.
- Choose a location that gets partial to full sun for the healthiest plants.
Run a simple percolation test first. Dig a hole about a foot deep, fill it with water, and see how fast it drains. If it empties within 24 hours, your soil drains well enough. If not, you may need extra soil amendment or a different site.
Sizing and Digging the Basin
A good rule of thumb is to make your rain garden roughly 20 to 30 percent of the size of the surface draining into it. For most homes, a garden of 100 to 300 square feet handles a typical roof section comfortably. It's better to start modest and expand later than to overbuild.
Dig the basin with a flat bottom and gently sloping sides, aiming for a depth of four to eight inches. Use the excavated soil to build a low berm on the downhill edge, which helps hold water in place. On sloped ground, this berm becomes especially important for keeping runoff from simply flowing through.
A rain garden works with gravity, not against it. Let the natural low points of your yard tell you where the water already wants to go.
Preparing Soil and Choosing Plants
Mix compost into the basin soil to improve both drainage and fertility. If your native soil is heavy clay, blend in sand and compost to help water percolate. Aim for a loose, absorbent planting bed.
Native plants are the heart of any rain garden. Their deep root systems create channels that help water infiltrate, and they tolerate the swing between wet spells and dry ones without fuss. Plant in zones based on moisture:
- The center, which stays wettest, suits species like blue flag iris, cardinal flower, and swamp milkweed.
- The middle slopes work for black-eyed Susan, bee balm, and switchgrass.
- The upper edges, which stay driest, welcome coneflower, little bluestem, and aster.
Check with a local native plant society or extension office for species suited to your region and climate.
Caring for Your Rain Garden
The first year asks the most attention. Water new plants regularly until they establish deep roots, usually through the first growing season, and pull weeds while your natives fill in. After that, a rain garden becomes remarkably self-sufficient.
Each spring, top off the mulch, cut back dead growth, and clear any sediment that has collected at the inflow. Watch how water moves during a big storm and adjust the berm or add stones at the inlet if you notice erosion. Within a season or two, the plants knit together into a resilient, living sponge.
Building a rain garden is one of those rare projects that helps your yard, your watershed, and your local wildlife all at once. You solve a drainage headache, keep pollution out of streams, and gain a gorgeous pollinator patch, all by simply giving the rain a place to land.
Sarah Mitchell
Founder & Editor
Writer, home cook, and slightly obsessive gardener sharing small, doable ways to live a little lighter. Sarah started Earth Friendly Blogs at her own kitchen table. More from Sarah →