How to Start Seeds Indoors and Save Money Every Spring
Learn how to start seeds indoors to save money, grow more varieties, and get a jump on spring with a simple, beginner-friendly setup.
The first time I did the math on seed starting, I couldn't believe I'd been buying six-packs of tomatoes for years. One packet of seeds costs about the same as a single nursery seedling, yet it holds dozens of plants. That gap is where the savings live.
Starting seeds indoors simply means giving young plants a head start inside, where you control light, warmth, and moisture, weeks before it's safe to plant them out. Do it well and you'll spend a fraction of what transplants cost, while growing varieties no garden center ever stocks.
Why Starting Seeds Indoors Saves Real Money
Walk into a nursery in spring and a single tomato or pepper plant runs a few dollars. A packet of seeds for that same variety costs a dollar or two and contains 20 to 50 seeds. Fill a garden with a dozen tomatoes, some peppers, herbs, and flowers, and buying transplants easily tops a hundred dollars a season.
The savings compound beyond the sticker price:
- One packet lasts several years if stored cool and dry.
- You choose productive, flavorful varieties instead of whatever's on the shelf.
- You avoid impulse buys at the nursery, where everything looks tempting.
- You can grow extras to give away or trade with neighbors.
Buy plants and you're paying someone for eight weeks of their time, water, and greenhouse space. Start seeds yourself and that labor becomes a pleasant hour on a windowsill.
Get the Timing Right
Timing is the one thing beginners most often get wrong, and it matters more than any equipment. Start too early and you'll have leggy, root-bound plants stuck indoors; too late and you lose the head start entirely.
Work backward from your average last spring frost date, which you can find by searching your zip code and "last frost date." Most seed packets tell you how many weeks ahead to sow:
- Tomatoes, peppers, and eggplant: 6 to 8 weeks before last frost.
- Broccoli, cabbage, and other brassicas: 4 to 6 weeks before.
- Basil and many flowers: 4 to 6 weeks before.
- Cucumbers, squash, and melons: only 2 to 3 weeks before, since they resent transplanting.
Mark your calendar with each start date so you're not guessing later.
The Simple Setup You Actually Need
You do not need a fancy grow tent. You need three things: containers, a growing medium, and enough light.
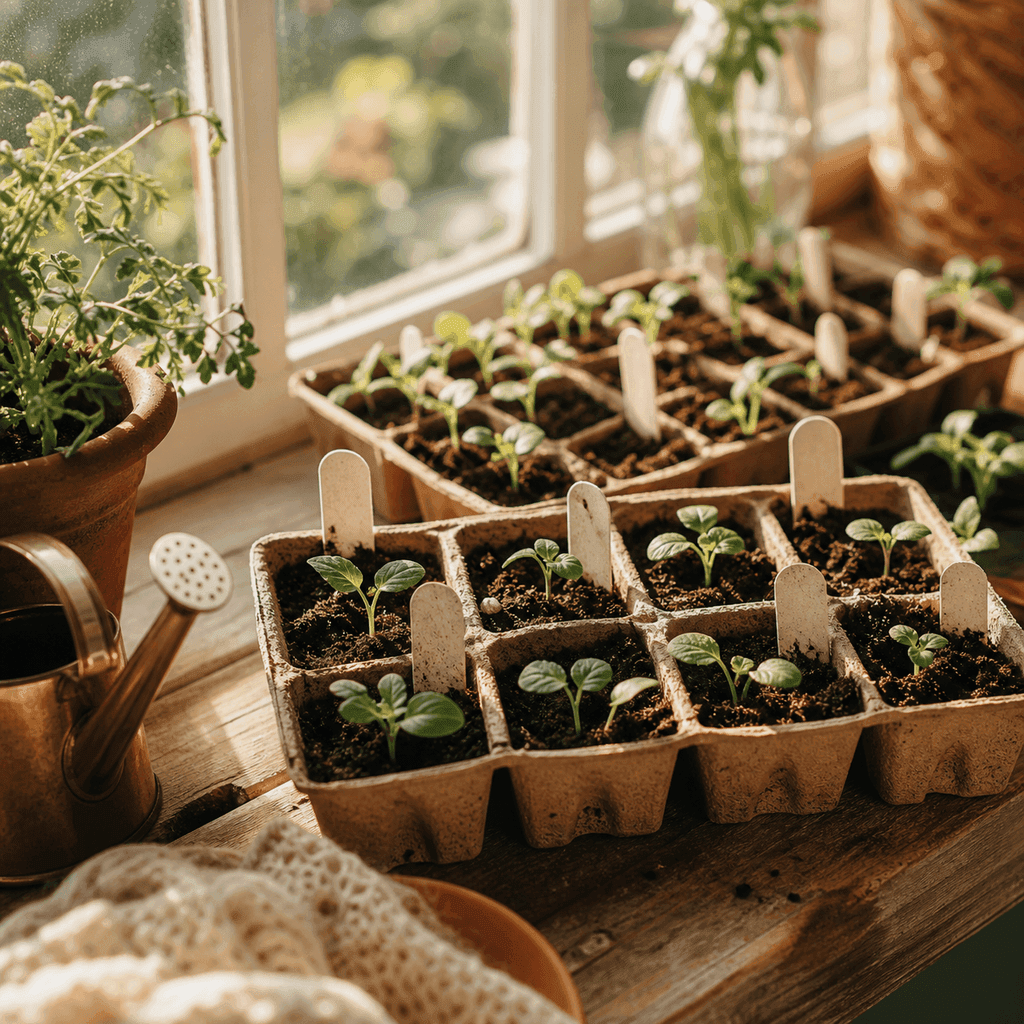
For containers, reuse yogurt cups, egg cartons, or plastic clamshells, just poke drainage holes in the bottom. Fill them with a seed-starting mix rather than garden soil, which is too heavy and can carry disease. A bag of light, sterile seed-starting mix is worth the couple of dollars.
Light is where beginners cut corners and pay for it. A bright south windowsill can work for tough seedlings, but most stretch and flop reaching for weak winter sun. An inexpensive LED shop light hung a few inches above the plants, run 14 to 16 hours a day on a cheap timer, produces stocky, healthy transplants and costs little to operate.
Sow, Water, and Keep Them Warm
Plant each seed at the depth listed on the packet, usually about twice the seed's diameter. Tiny seeds barely get covered; larger ones go deeper. Label everything, because seedlings all look identical for the first couple of weeks and you will forget.
Most seeds germinate fastest in warm soil, around 70 to 75 degrees. A warm spot on top of the refrigerator, or an inexpensive seedling heat mat, speeds things up noticeably. Keep the mix consistently moist but never soggy, and cover trays loosely with a clear lid or plastic until sprouts appear, then remove it right away for airflow.
Once seedlings push out their first true leaves, feed them a weak, diluted liquid fertilizer every week or two, since seed-starting mix holds few nutrients on its own.
Hardening Off Before They Go Outside
The last step trips up more gardens than any other. Seedlings raised in stable indoor conditions will get shocked, sunburned, or wind-whipped if you plant them straight outside. They need a gradual transition called hardening off.
Over 7 to 10 days before transplanting:
- Set the trays outside in a sheltered, shady spot for an hour or two.
- Add more time and more direct sun each day.
- Bring them in if a cold night or storm threatens.
- By the end of the week they can handle a full day and night outdoors.
Then transplant on a cloudy afternoon or in the evening, water them in well, and let them settle.
Small Effort, Big Payoff
Seed starting rewards a little attention with a garden full of plants you grew from scratch, for a fraction of nursery prices. Get the timing right, give them steady light and warmth, harden them off gently, and you'll have healthier transplants and a fatter wallet come spring, every single year.
Sarah Mitchell
Founder & Editor
Writer, home cook, and slightly obsessive gardener sharing small, doable ways to live a little lighter. Sarah started Earth Friendly Blogs at her own kitchen table. More from Sarah →