How to Build a DIY Cold Frame for Year-Round Growing
Build a simple DIY cold frame to extend your garden season, protect seedlings, and harvest fresh greens through fall, winter, and early spring.
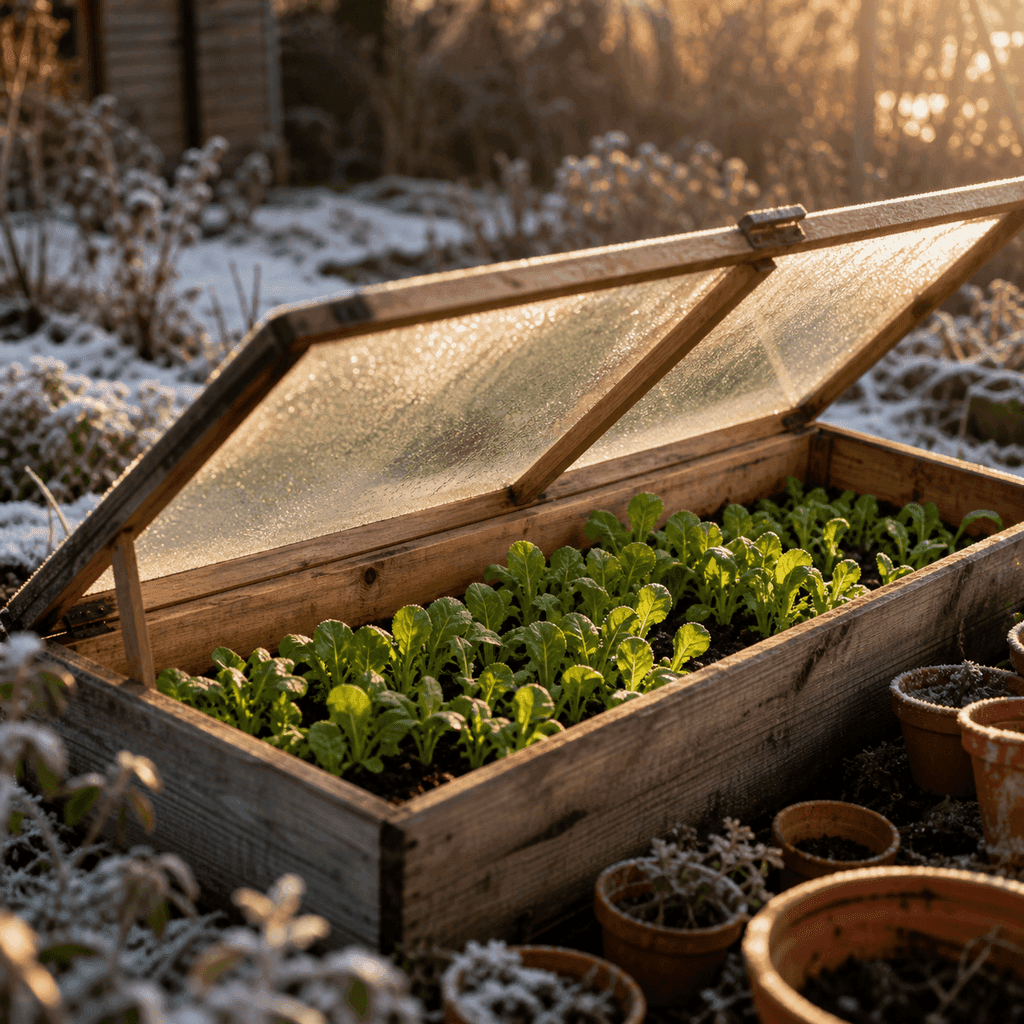
There's a particular kind of joy in pulling fresh spinach out of the garden in January, while your neighbors are buying limp bagged greens at the store. A cold frame is the humble little box that makes that possible, and you can build one this weekend with materials you probably already have.
A cold frame is essentially a mini-greenhouse that sits on the ground: a bottomless box with a clear lid angled toward the sun. It traps solar warmth during the day and buffers plants against frost at night, letting you grow, protect, and harden off crops well outside the normal season.
Why a Cold Frame Is Worth Building
The magic of a cold frame is that it does a lot with almost no technology. There's no electricity, no heating cable, no fancy glazing required. On a sunny winter afternoon, the air inside a closed frame can run 10 to 20 degrees warmer than the air outside, and the soil holds that warmth into the night.
That temperature buffer buys you real growing time. In most of the country a cold frame lets you:
- Harvest cold-hardy greens through fall and into deep winter.
- Overwinter crops like kale, spinach, mache, and scallions.
- Start seeds several weeks earlier in spring.
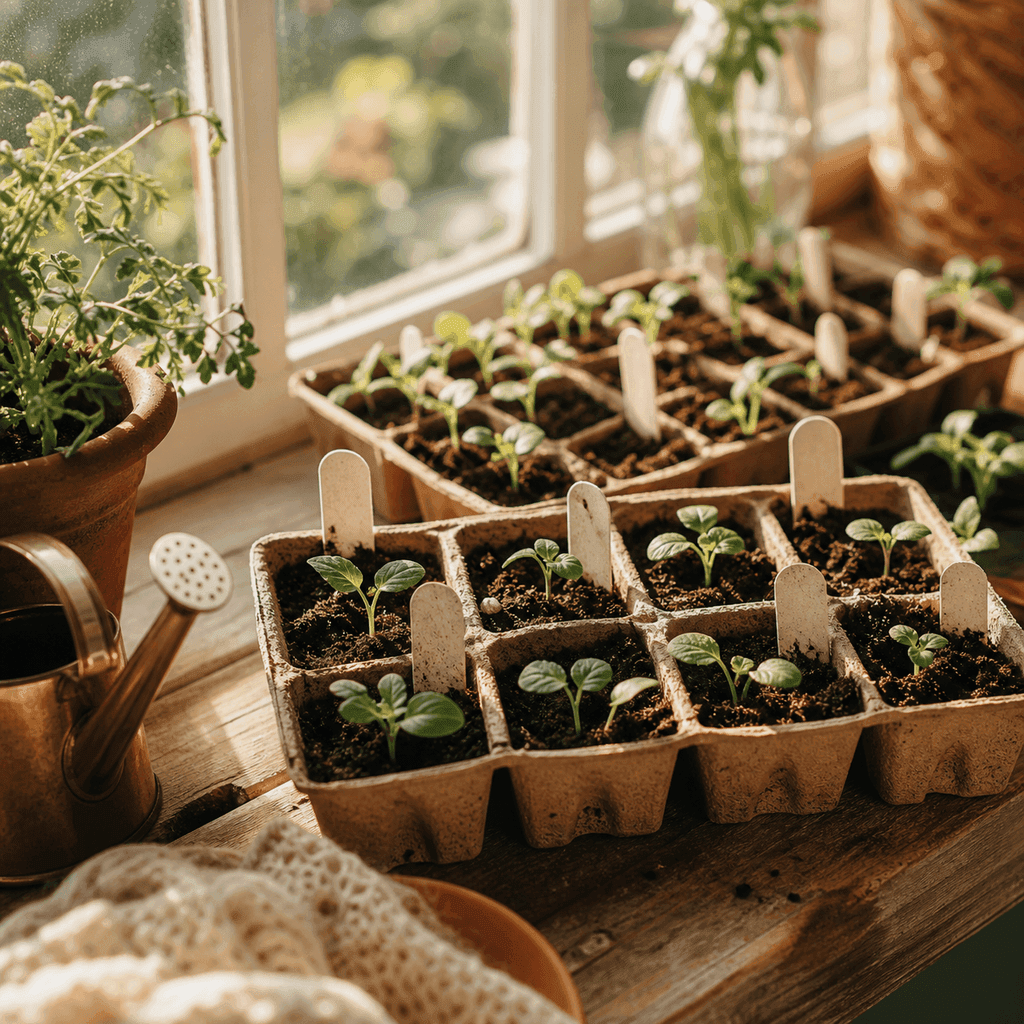
- Harden off tender indoor seedlings before transplanting.
A cold frame doesn't make your garden warm; it makes it stable. That steadiness through freezing nights is what keeps hardy plants alive and slowly growing.
Gather Your Materials
The classic cold frame uses an old single-pane window as the lid, which is why salvage yards and marketplace listings are your friend here. Any clear rigid panel works, though: a scrap of polycarbonate, an old storm door, or a leftover piece of plexiglass.
For a frame roughly 3 feet wide by 2 feet deep, you'll need:
- One clear lid, around 3 feet by 2 feet.
- Rot-resistant lumber such as cedar, or standard boards you seal with a nontoxic finish.
- A pair of exterior hinges and screws.
- A short length of scrap wood or a notched stick to prop the lid open.
Avoid pressure-treated lumber if you're growing food, since older or cheap treatments can leach compounds into soil. Cedar costs a bit more but shrugs off moisture for years.
Build It Step by Step
The whole point is simplicity, so don't overthink the joinery. A few screwed butt joints will hold up fine.
- Cut the sides at an angle. The back wall should be taller than the front so the lid slopes toward the sun. A back of about 15 inches and a front of about 9 inches gives a gentle, effective pitch.
- Assemble the box. Screw the four walls together into a bottomless rectangle. Add a corner post inside each joint if you want extra rigidity.
- Attach the lid. Mount the hinges along the tall back wall so the window opens upward and rests fully closed against the sloped front.
- Seal the gaps. Add a thin strip of weatherstripping where the lid meets the frame to cut drafts, but leave it easy to lift.
- Add a prop. A notched stick lets you vent the frame at several heights on warm days.
Where to Place It and What to Grow
Set your frame against a south-facing wall or fence if you can. That backdrop soaks up daytime heat and radiates it back at night, and it blocks cold north winds. A spot that stays snow-free and gets sun by mid-morning is ideal.
For fall and winter harvests, plant cold-tolerant crops that keep producing in cool soil:
- Spinach, mache, and arugula.
- Leaf lettuce and Asian greens like tatsoi and mizuna.
- Carrots and scallions left in place as a living pantry.
- Kale and hardy herbs such as parsley.
Get seeds in the ground in late summer to early fall so plants reach a decent size before daylight fades. Growth slows dramatically once days drop below 10 hours, so the goal is mature plants you harvest from, not seedlings racing to catch up.
The One Skill That Matters: Venting
If a cold frame has a weakness, it's overheating. On a clear day, even in winter, a sealed frame can climb past 80 or 90 degrees inside and cook your greens. Learning to vent is the difference between thriving plants and steamed ones.
The rule of thumb: prop the lid open a few inches when outside temperatures rise above the mid-40s, and close it again by late afternoon to trap warmth for the night. On truly frigid nights, throw an old blanket or a layer of straw over the closed lid for extra insulation. Once you get in the rhythm of opening and closing it with the weather, the frame practically runs itself.
A Season Extender That Pays for Itself
A cold frame is one of those rare garden projects where a scrap window and an afternoon of work genuinely change what you can grow. It keeps seedlings safe in spring, stretches your harvest deep into fall, and hands you fresh greens in the middle of winter without a single watt of electricity. Build one, keep an eye on the venting, and you'll wonder how you gardened without it.
Sarah Mitchell
Founder & Editor
Writer, home cook, and slightly obsessive gardener sharing small, doable ways to live a little lighter. Sarah started Earth Friendly Blogs at her own kitchen table. More from Sarah →