How to Make Vegetable Scrap Broth from Kitchen Waste
Turn onion skins, carrot tops, and celery ends into rich homemade vegetable scrap broth that cuts food waste and saves money.
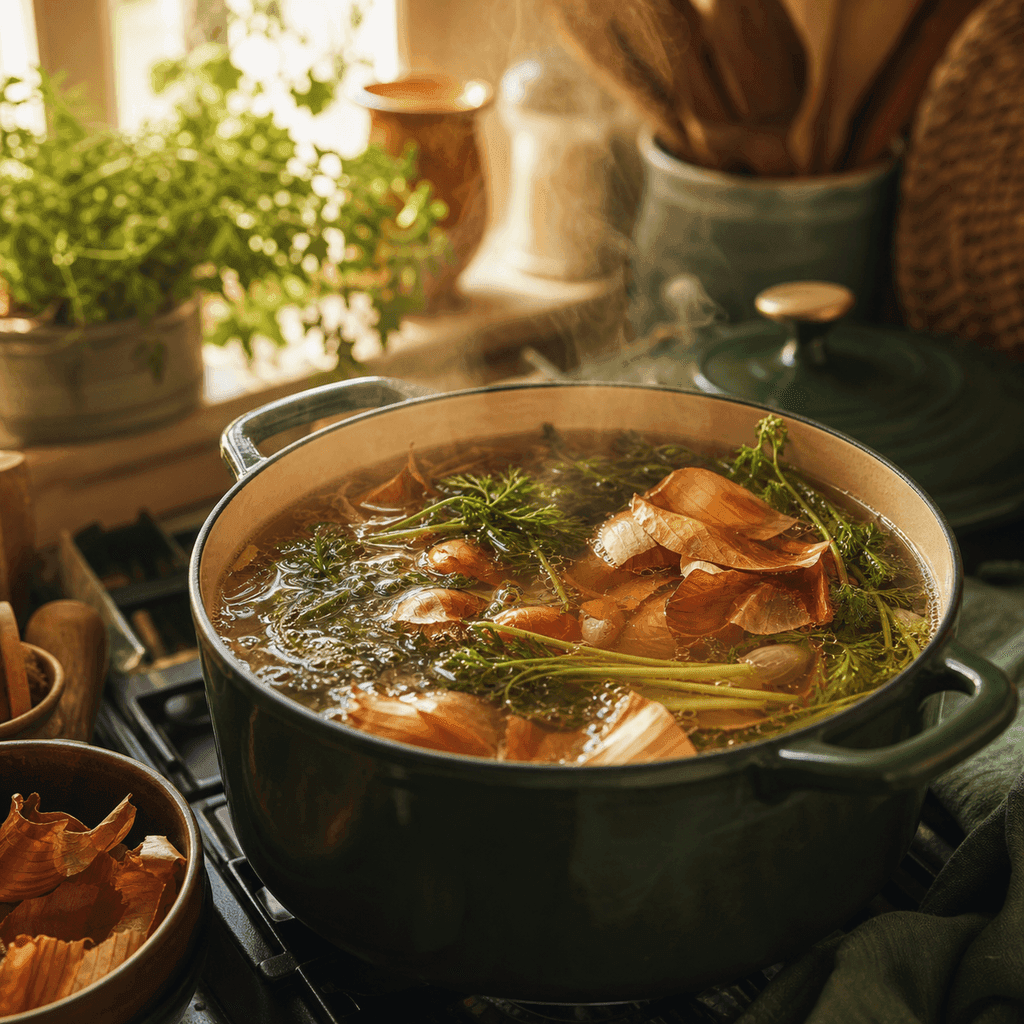
That little pile of onion skins and carrot ends you sweep into the trash every week is quietly one of the most useful things in your kitchen. With almost no effort, those trimmings become a fragrant, golden vegetable scrap broth that rivals anything in a carton, and it costs you nothing extra.
Making vegetable scrap broth from kitchen waste is the kind of habit that feels almost too easy once you start. You are already producing the ingredients. All you are doing is collecting them instead of tossing them, then letting a pot of water do the work while you go about your day.
Why Vegetable Scrap Broth Is Worth Making
The average American household throws away hundreds of dollars of food each year, and a surprising share of that is the perfectly edible odds and ends of vegetables. Broth is the ideal way to capture their flavor before they leave your kitchen.
Beyond the waste savings, homemade broth gives you real control. Store-bought versions often carry a lot of sodium and vague "natural flavors," while your batch has exactly what you put in it. You also skip the packaging, since a jar or two in the fridge replaces a steady stream of aseptic cartons.
- It cuts food waste and shrinks your trash
- It saves money on an ingredient you buy anyway
- It lets you control salt and seasoning
- It reduces single-use packaging
What Scraps to Save (and What to Skip)
Not every trimming belongs in the pot. The goal is clean, mild, savory flavor, so a little curation keeps your broth from turning bitter or muddy.
Great scraps to collect include onion skins and ends, carrot peels and tops, celery bases and leaves, leek greens, mushroom stems, corn cobs, parsley and cilantro stems, fennel fronds, and the tough outer leaves of cabbage or lettuce. Garlic skins add a gentle depth, and a Parmesan rind delivers real richness if you eat dairy.
Some scraps cause trouble. Brassicas like broccoli, cauliflower, and Brussels sprouts turn sulfurous and overpowering when simmered long. Beets bleed color into everything. Potato peels can make broth cloudy and starchy, and anything moldy or slimy should go straight to the compost, not the pot.
Think of your scrap bag as a running savings account: every peel you drop in is flavor you would otherwise have paid for or thrown away.
How to Store Scraps Until You Have Enough
You rarely generate a full pot of scraps in one meal, so the freezer is your friend. Keep a large zip-top bag or a lidded container in the freezer and add rinsed trimmings as you cook. Freezing pauses decay and actually helps break down cell walls, so the scraps release flavor more easily later.
Aim for roughly four to six cups of packed scraps before you brew. That is usually one to two weeks of normal cooking for a small household. Label the bag with a date so you use it within about three months for the brightest flavor.
Step-by-Step: Simmering Your Broth
Once your bag is full, the actual cooking is relaxed and forgiving. Here is a reliable method.
- Add the scraps to a large pot. No need to thaw. Tip in your four to six cups of frozen trimmings.
- Cover with water. Add roughly eight to ten cups, enough to submerge everything by an inch or two.
- Season lightly. Toss in a bay leaf, a few whole peppercorns, and a pinch of salt. You can add more salt later once you know how you'll use it.
- Bring to a gentle boil, then reduce. Let it simmer, uncovered or partly covered, for 45 minutes to an hour. Longer than 90 minutes tends to turn flavors flat and bitter.
- Strain. Pour the broth through a fine mesh sieve into a bowl, pressing gently on the solids to extract the liquid.
- Cool and store. Let it come to room temperature before refrigerating or freezing.
You'll end up with roughly six to eight cups of clear, amber broth. For a deeper, roasted flavor, spread the scraps on a sheet pan and roast at 400 degrees Fahrenheit for 20 minutes before simmering.
Storing and Using Your Broth
Fresh broth keeps in the fridge for about four to five days. For longer storage, freeze it. Ice cube trays give you convenient two-tablespoon portions for deglazing a pan or enriching a sauce, while pint jars or silicone molds work for soup-sized amounts. Leave headspace in any jar so the liquid can expand as it freezes.
Put your broth to work anywhere you want savory depth: simmer rice or grains in it instead of water, build the base of soups and stews, deglaze a pan for gravy, or loosen a risotto. Even a plain mug of warm, lightly salted broth makes a soothing afternoon break.
Once you get the rhythm, making vegetable scrap broth stops feeling like a project and becomes just part of how you cook. Your trash gets lighter, your meals get richer, and the humble carrot top finally gets the second life it deserves.
Olivia Reed
Sustainable Kitchen Writer
Olivia writes about low-waste cooking, plastic-free storage, and getting the most out of every ingredient. She tests every swap in her own small-city kitchen. More from Olivia →